Precision Radiotheranostics Translation Center
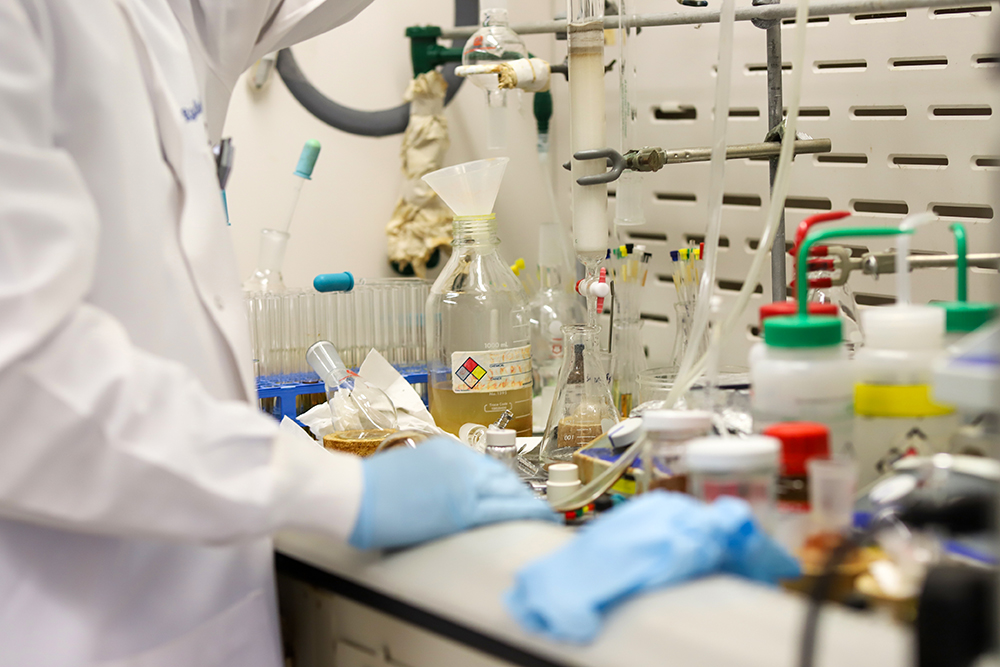
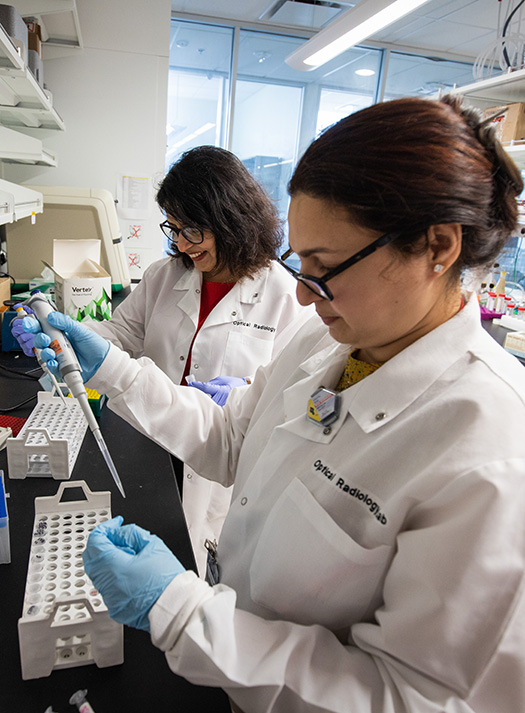
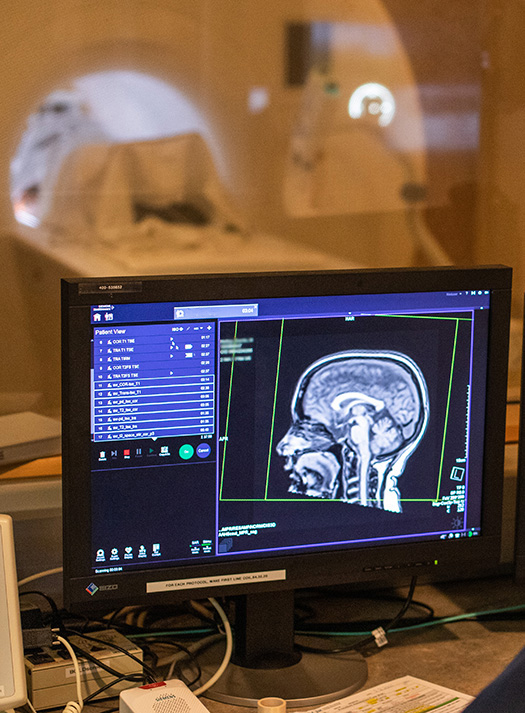
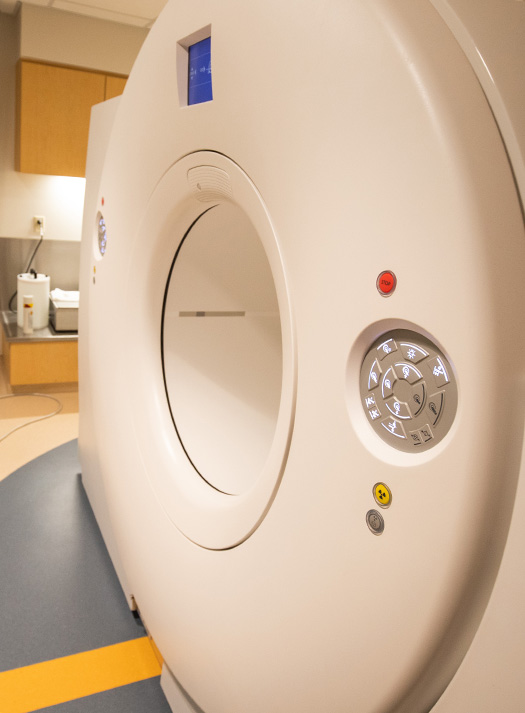
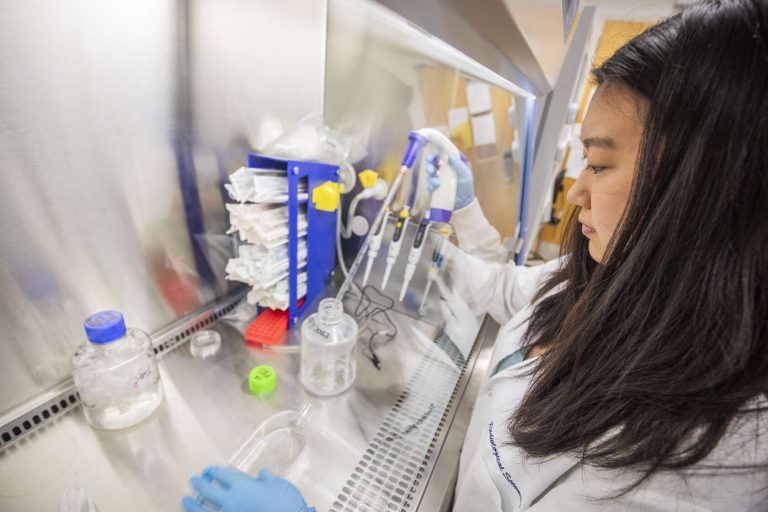
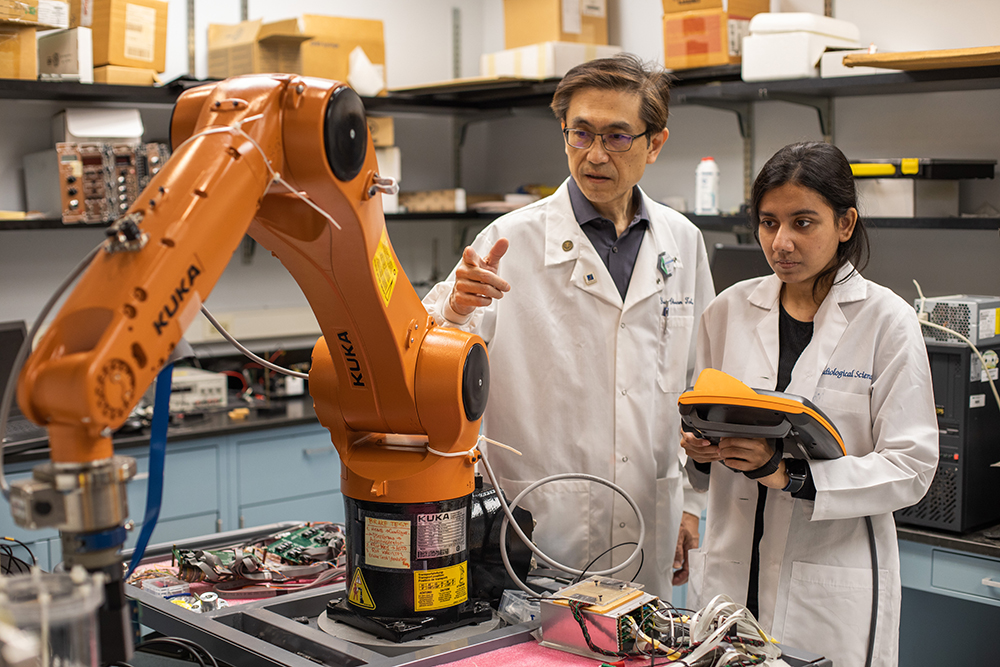
The Precision Radiotheranostics Translational Center is a multidisciplinary group of faculty whose core mission is to develop and apply molecular imaging agents, therapeutics and technology to improve the diagnosis and treatment of disease. Our decades of innovation in radio physics, instrumentation, radiochemistry and computation imaging has helped shaped leading minds in the field of molecular imaging.
Our People
We partner with physicians and scientists at Washington University, and with academia and industries around the world, to advance patient care through innovations in molecular imaging agents and imaging technology.
Group Resources
The PRTC is a global leader in the development of novel radiopharmaceuticals and molecular imaging technologies used to diagnose, assess and treat disease. We have developed and translated a broad range of radiotracers for cancer, neurodegenerative and cardiovascular research.